
Your cart is currently empty.
How to Add Printer in Windows 10
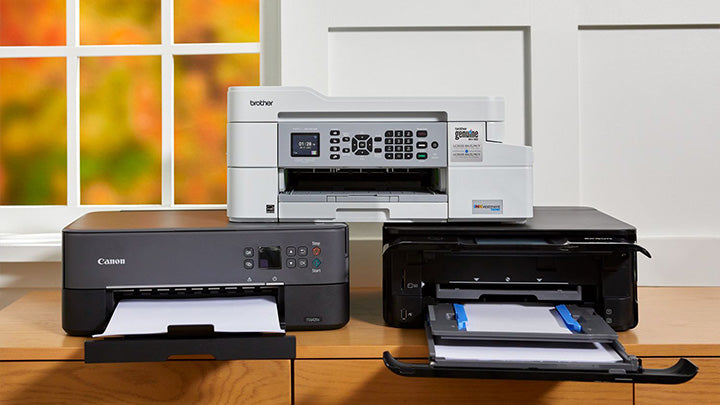
Installing a new printer is not always as easy as it appears. There will be a different approach to getting the connection you desire.
There are many 10-minute tasks you can complete to enhance the usability of your laptop, from shortening the boot time to customizing your action center. After a fast setup, installing a printer in Windows 10 is a simple process that allows you to start printing.
These days, adding a printer to your Windows 10 laptop or desktop is simple and takes very little technical expertise. A printer may be added through Bluetooth, your wireless network, or USB. Depending on the connection you wish to use, below is how to add a printer in Windows 10.
Ready Your Printer:
Check the printer's condition before adding it to Windows 10. Make sure that all of the components and cables are in place. It is best to unpack it if it has just been delivered to connect a new printer to your computer.
Check your printer's handbook for the necessary setup settings if you have a wireless printer. You reduce possible problems by carrying out all of these. Let's examine how to integrate a printer into your network right now.
How to Add a Printer Through Wi-Fi in Windows 10:
Most wireless printers offer Wi-Fi Direct, allowing you to immediately connect it to your PC even if a local network is down. An access point for Wi-Fi is the printer. Once a peer-to-peer connection has been established via Wi-Fi Direct, you can enter the printer's web-based setup page and finish setting up the network. The on-screen Wi-Fi setup guide makes it much simpler to connect to your router if your printer has an LCD screen. You may add or install your wireless printer on any Windows 10 machines you want to use to print after it is connected.
You will need to manually set up your network-capable printer if Windows does not recognize it automatically. Going to your printer's menu, setting up a TCP/IP port, and installing the drivers are required for this. To add a network printer in Windows 10, adhere to these procedures.
- Click the Windows Start button: This button resembles the Windows logo and is located in the bottom left corner of your screen.
- Next, select Settings: This gear-shaped symbol in the Start menu is right above the power button.
- Then click on the devices option.
- Choose Printers & Scanners next. It is in the left sidebar.
- Click Add a Printer after that.
- The printer I want isn't displayed, so click that link. Following your choice, the "Add Printer" screen will appear.
- Click next after selecting "Add a local printer or network printer with manual settings."
- Select Standard TCP/IP from the drop-down box after clicking "Create a New Port."
- Click next after entering the IP address of your printer. Your computer will now attempt to identify the TCP/IP port. It might need some time.
- Choose the device type. Choose the device type for your printer brand from the drop-down selection for Standard Device Type. Choose either Canon Network Printer or Canon Network Printing Device, for instance, if you have a Canon printer. The driver model will then be discovered by Windows. Your printer will be added to the list of devices in the Printer & Scanners menu as soon as it recognizes the driver, as you will see.
- Set up the printer driver. In the left-side column, select the printer manufacturer. In the right-side column, select the driver corresponding to your printer model. Then choose Next.
- Click next after selecting "Use the driver currently installed (recommended).
- Make optional preference settings. If you wish, provide the name of the printer. Click Next if not. You might also set up printer sharing in the text box if you'd like. Once finished, select Next.
- Print a test page. Once the printer has been successfully set up, you will receive a notice. You can either click Finish or print a test page from this point.
How to Install a USB Printer on Windows 10:
(Ensure your computer is connected to the internet and linked to a power source before setting up your printer so you can download the required drivers.)
- Utilize a USB connection to connect your printer to your computer. One end of the USB connection from your printer should be plugged into the computer's USB port.
- To install, adhere to the on-screen instructions. Windows will recognize your printer on its own and guide you through the process of installing the print driver.
- Verify the installation of your printer. Click the Start button in the bottom-left corner of your screen, which resembles the Windows logo, to begin. Follow that by going to Settings > Devices > Printers & Scanners. An alternative is to carry out this action within the Control Panel. Access Devices and Printers by going to Hardware and Sound.
You will see the printer in the list of printers if you have it appropriately set. Once the setup is complete, you can print a test page to verify it.
Add a Bluetooth printer:
Pair the printer as you would any other Bluetooth device before adding it. Additionally, ensure that the communication port, commonly known as the COM port, that Windows displays match the port on the print driver. To connect your Bluetooth printer to Windows 10, follow these steps.
- To access Bluetooth and other devices, go to Start > Settings. Make sure the Bluetooth switch is turned on.
- To add a Bluetooth or other device, select it.
- After that, choose Bluetooth as the type of device to add. You will see a list of Bluetooth devices that Windows has found. By selecting Ready to Pair, choose your Bluetooth printer from the list.
- Connect your printer and computer. If your printer doesn't require a PIN, devices will couple themselves automatically. Otherwise, enter the PIN for your Bluetooth printer when asked on the computer. Go to Connect. You can also be prompted to enter a PIN on the printer if it has a user display. To verify the connection, adhere to the on-screen directions on both devices.
- Check Device Manager's COM Port. Select Devices & Printers under Control Panel > Hardware and Sound. Select Properties by right-clicking on the Bluetooth printer. The COM port that the printer uses may be seen in the Services tab.
- Set up the print driver using the appropriate COM Port. Setting up your print driver is as simple as following the on-screen directions. Ensure the port you set up with the print driver matches the one in Windows Device Manager by checking the Ports tab of the printer driver installation window. If COM3 is in Device Manager, click the COM3 checkbox during installation.
- Print a test page. Print a test page to make sure your printer is connected.
Conclusion:
As you can see, configuring a printer on a Windows 10 PC is simple. There will be simple-to-understand prompts for instructions. Read them carefully, and if anything is unclear, you can always immediately look online for advice.
In addition, if you run across an installation issue that you cannot resolve, you may always contact a professional tech support team of Acom Distributors for assistance. Overall, installing a new printer won't be challenging or take time.

